I've been finding that I don't have as much of a sweet tooth lately as I used to. A few people who have known me for a long time might ask... have you ever had a sweet tooth? But that's beside the point.
Sweet tooth or no, I can still usually find room for Oreos. (Really, Firefox spell check? You don't know about Oreos?) A little over a year ago, when I tried Birthday Cake Oreos for the first time, I was hooked. And then couldn't find them anywhere, because apparently they were made exclusively for their 100th birthday, and then went out of production. So back to normal Oreos it was.
A few months ago, I found myself in a room with some Birthday Cake Oreos again. I ate my share and went looking to buy some, but, again, no luck. This time, however, I decided to take action. I already have a homemade Oreo recipe (as yet untested), but I checked to see if there was a birthday cake Oreo recipe somewhere on the internets. I was lucky, and stumbled across Kojo Designs, and the story of finding the cookies in the Middle East and needing them again... and a recipe. Time to start baking.

I'm at home now, which means I get to use this awesome flat wisk thing - just about my favorite tool for mixing together dry ingredients.

Fun fact: brown and white sugar are interchangeable in cookie recipes, and more brown sugar makes for a moister, softer cookie.
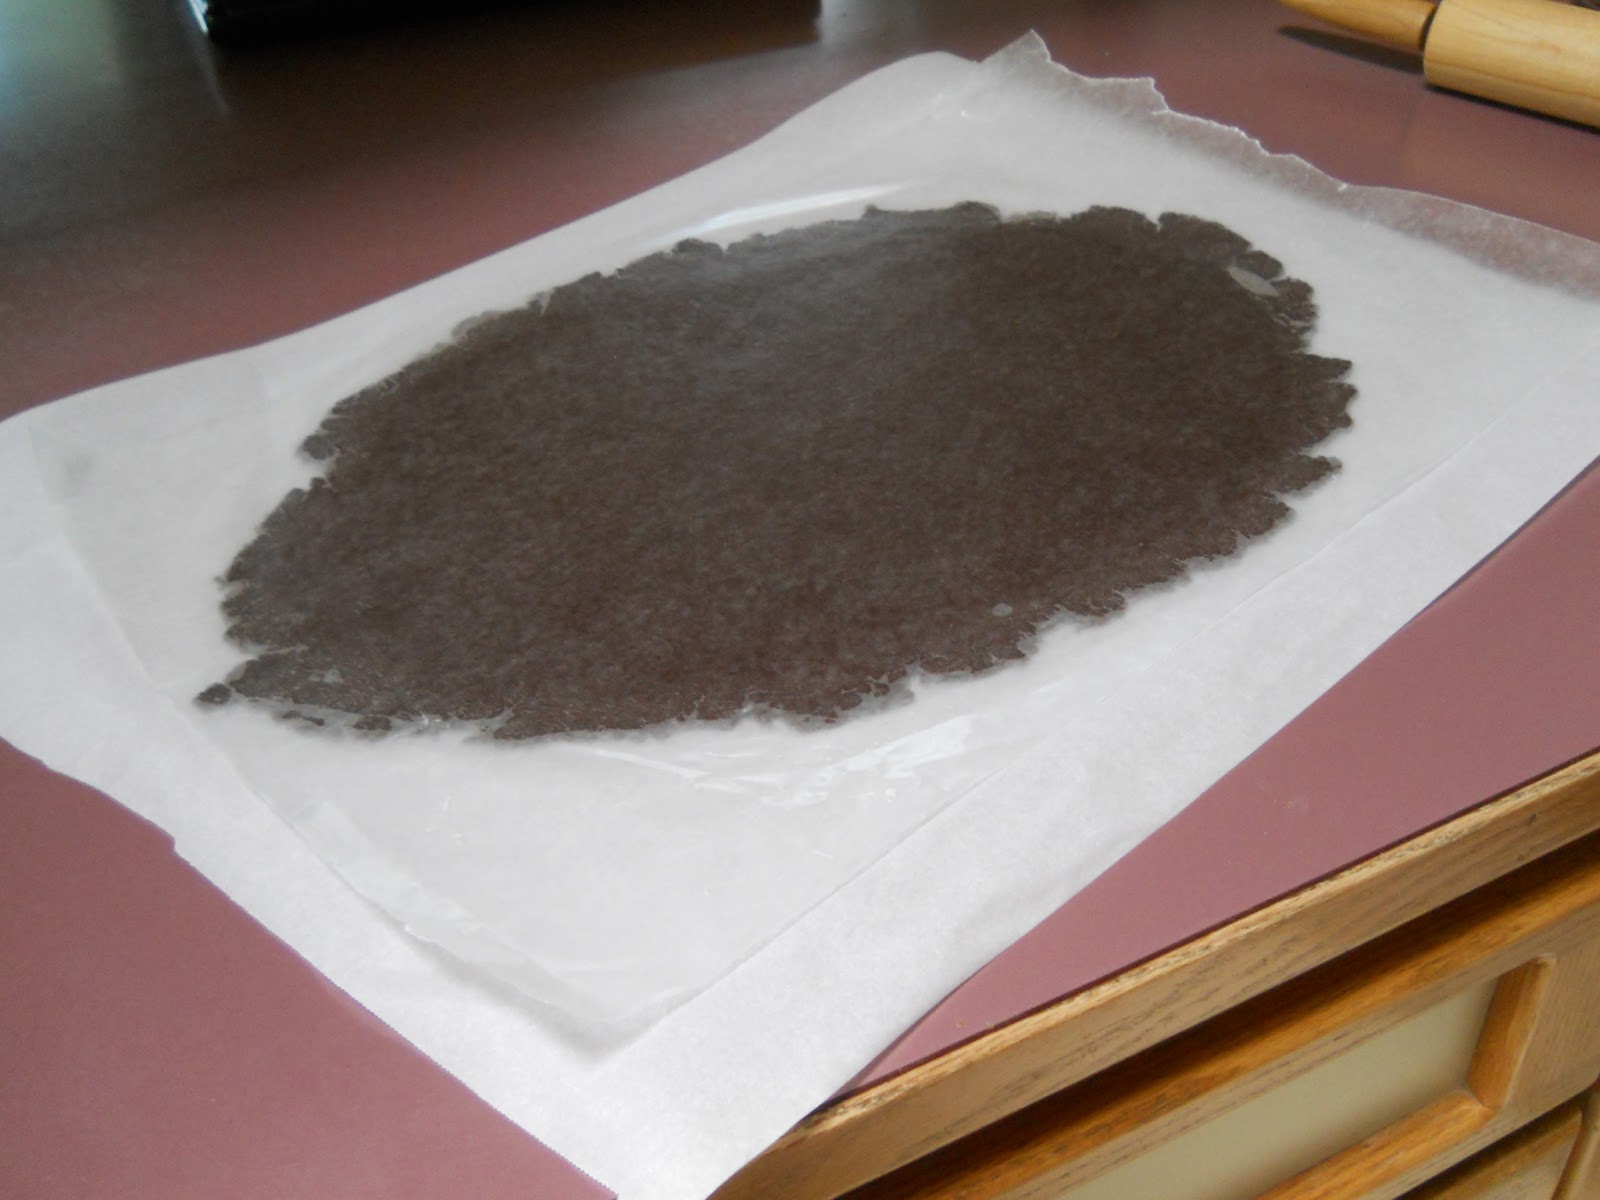
The rolled dough should then be refrigerated for a while. I went out and gardened, which didn't help the brown-stained hands situation very much.

Time to innovate. I ran around the kitchen with a ruler measuring things. Found a 1/2 Liter Nalgene with around a 2 inch circular lid, which could have sufficed (huge cookies, though). Then I checked the spice cupboard, and ended up using this spice bottle lid. Exactly 1.5 inches in diameter.

Cut the dough into circles, reroll, cut more circles, hope that when you're done cutting you have an even number of circles. Though leaving one cookie for eating after they've baked wouldn't hurt too much - I was so tempted, but couldn't let myself.

Don't worry, Mom. I don't think that'll be a problem :)

Also, you can't really tell here, but the frosting was between pink and purple in color - I added extra sprinkles to enhance the funfetti effect, but they lost their color in mixing and simply colored the frosting a bit. Would still do again.
 |
| Seriously. Just look at these things. Don't they look just... amazing? |
The next day, however, I took a bunch of the cookies to my boyfriend's graduation party. During the night, the frosting had hardened and the cookies had become just a little softer and they were perfect. Perfect. Everyone at the party loved them and I loved them, and when there was one left on the plate, I was tempted to take it but said to myself "No... I left a few at home... I can have one of those."
Naturally, when I got home, they were all gone. I watched my mom eat the last one as I wished I'd had just one more at the party. Or gotten to the last one first.
I've found myself craving them many times since I made them just a couple weeks ago, so I guess, even though they were quite a hassle, I need to make them again.
For any of you who want to try, here's the recipe, mostly copied from Kojo Designs but with my few tweaks.
Chocolate Wafer Cookies
1 1/4 cups all purpose flour
3/4 cups unsweetened cocoa powder
1/2 tsp baking soda
5 TBS salted butter, melted
1/3 cup brown sugar
1/3 cup white sugar
1 large egg
- Whisk together flour, cocoa powder and baking soda in a large bowl.
- Stir together butter, brown sugar, and egg.
- Add butter mixture to flour mixture and stir until you can form the dough into a ball.
- Roll dough between two sheets of wax or parchment paper until 1/8 inch thick.
- Transfer to refrigerator for at least 30 minutes or until firm.
- Preheat oven to 350 with racks in upper third.
- Cut out 1.5 inch circle shapes (preferably an even number). Reroll scraps, re-refrigerate if necessary.
- Place cookies on a baking sheet lined with parchment paper (not wax paper!), and refrigerate or freeze until very firm.
- Bake for around 8 minutes or until firm. Let cool completely.
Birthday Cake Cookie Filling
1/2 stick unsalted butter
1 1/2 cups confectioners sugar
1/4 cup funfetti cake mix
2 TBS extra sprinkles
2 tsp pure vanilla extract
1 to 2 TBS heavy cream, as needed (I used half and half, but heavy cream will probably be better)
- Beat butter until light and fluffy.
- Gradually add the sugar, cake mix, sprinkles and vanilla, while mixing.
- Beat in cream in small portions until the icing is spreadable.
- Scoop into a piping bag (or ziploc bag with a corner cut off).
- Pipe icing onto cookies, adding another cookie on top of each pile of icing until all of your cookies are in sandwiches.
Oh god I want to make these so badly.
ReplyDeleteMe too! And I made them already!
DeleteAfter looking at another recipe, I discovered that it might be easier to roll balls of cookie dough and smash them with a glass or something than to roll out all the dough. Rolling is such a pain.