Thursday, April 25, 2013

Dinner Roles

A text conversation with my roommate on Thanksgiving of 2012.  I was on my way to a huge family gathering, and he was cooking for a large Thanksgiving potluck dinner on campus.

Me: How's the food preparation going?
Roommate: So far so good.  I'm making little dinner roles.
Me: *rolls.  Unless you're trying to tell everyone what part they should play at dinner.
Roommate: Yes, that too.

This has nothing to do with what I'm about to post, but was necessary all the same.

Anyways, when I saw this recipe posted on reddit, I knew I had to try it.  I'm a sucker for a good dinner roll,  and many of those you can buy in stores are... sub par.

It's a basic bread recipe, you should really just look at it if you want to do it because there's some helpful tips and whatnot.

But it turned out fantastic.

It didn't occur to me to take pictures until after they'd risen, but here they are pre-baking.

I was making them on Easter, but I think I can refrain from the usual "it is risen" pun...
 Here they are post-baking.

Looked delicious enough as it was, but there's still one more step!

Here they are post dousing in butter!

I left out a couple of ingredients from the recipe because I didn't have them (powdered milk and potato something), but they turned out delicious all the same.

Well loved by the Easter IV Potluck crowd, and definitely a keeper!

Monday, April 22, 2013

The Sourdough Starter that Couldn't

I've been wanting to make a sourdough starter for a while.  I love me a good sourdough, and I've yet to make a bread that truly lives up to my expectations for what good bread should be.  I thought maybe I could pull it off with sourdough.

The plan had been to wait until I am home after graduation and then try it, but over spring break, I just couldn't wait.

I'd done some research, and it didn't look like a starter was that hard.  So I threw together some flour, water, and yeast, mixed it up, added more flour and water every day, and then... it started forming this weird liquid.  I stirred in the liquid and kept going.

Then I was browsing the bread subreddit, and someone was asking about their sourdough starter.  One comment was "if it forms a clear liquid, dump it off, and then keep feeding".

"Oh, okay, I was wondering what to do about that" I responded.
"Yeah, it's alcohol made from yeast dying" they told me.

Cool, my starter was making alcohol.

I poured it off and kept feeding.

It didn't work.

I decided to make some bread with what starter I had available.  The bread looked great, if not a bit flat, but tasted... weird. 


As is often the case with my cooking, everyone around me loved it but I didn't - It was bread, and it was good bread, but it didn't taste right.

So I asked for help on the bread subreddit.  And I was told - you did it wrong.

You aren't supposed to use yeast, they told me.  You should start over.  Maybe find a recipe that uses pineapple juice.  And don't forget to discard half of it when you feed.  (Whoops.)

I found a recipe and added pineapple juice to it.  I bought some rye flour to start a stronger starter.  At first, it worked beautifully.  The rye starter began to overflow out of the jar.  Then I switched to all purpose flour, like my recipe said I should do.

And suddenly it started fermenting again.  No rise, just alcohol.

After a bit of research and some thinking, I discovered my problem this time was my flour - I was using bleached flour.  You know what bleach does to things?  It kills them.

Whoooooops.

So I contacted King Arthur Flour's live baking help chat, and explained the situation.

"Do you think I can remedy it or should I start over?" I asked.
"Is it pink?"
"No"
"Does it smell putrid?"
"No"
"Then you should be able to fix it!"

She gave me instructions and told me to expect results shortly.

I was even more careful.  I drew sharpie lines on the jar to see if the starter was rising at all.

Surprise!

It wasn't.

I was told to wait for it to rise and then feed it before it starts falling.

How was I to do that if it wasn't rising?

I sent an email to the baking helpline.  They told me to watch for bubbles, and to feed it before the bubbles died down.

I watched for bubbles, and it started to ferment before the bubbles changed at all.

By that point, classes had started and I didn't have time to worry about this anymore.  I'd made a lot of mistakes and wasted a lot of flour trying to rectify them.  (No flour actually got wasted, but I have a lot of dead starter I need to bake with now).  I decided it would be better to start over, and start over when I'm at home and have better flour and more time.

And then I put the starter in the freezer to wait to be baked with.  It's a good thing I like sourdough banana bread.

--------------

If you'd like to try your own starter, I'd recommend checking out King Arthur Flour's blog.  They have a post on starting a starter which is probably a functional recipe, and they also have a post on maintaining your starter.  If you get stuck, they have live chat online and a telephone hotline to help you.

I can say for sure that they've made a customer out of me with their resources.  And their fantastic flour.

Sunday, April 21, 2013

Salmon and Crab Bisque

This is a post that has taken far too long.  In fact, my desire to make salmon and crab bisque and document my attempts is part of the reason I started this blog.  I've made it twice, once at the end of last semester (mid-December) and once for Christmas.  So... it's been a while.  Here goes...

There's an Italian restaurant near campus that is quite delicious.  It's a little pricey, so I've only been when my parents (or someone else's parents) are paying for me, but the food is to die for.

With every entree you get a choice of a soup or salad.  Two of the times I went (I don't remember about the first time), the soup of the day was crab and salmon bisque.  Other people remember it to be other things, such as lobster or seafood bisque, but I remember crab and salmon.  That bisque is so good.... I just had to figure out how to make it.  (One of my goals in life is to figure out how to cook food so good that I don't want to go to fancy expensive restaurants.  I realize that cooking that well can take time, so I'll probably still go out to eat, but it's still a goal).

Anyways, I looked up recipes for crab and salmon bisque, but there were none.  So I had to figure one out for myself.  I made up my own recipe by combining several crab bisque and salmon bisque recipes until I felt like I had something that would work.

(For the purposes of ease of comparison, and because I didn't take pictures the second time around, I'll be talking about both cooking experiences simultaneously.)

At some point while I was looking for a recipe, I realized that this was soup, and when making soup, I could pretty much throw any ingredients together and end up with something that, if I was careful, would taste fine.  The matter was how to make it taste amazing.

My first time making it, I only used crab meat, because in California in December, good, fresh, non-farmed salmon is hard to come by.  Good, fresh crab meat is hard to come by too... but canned is reasonable.  And cheap.
I point out farmed salmon for a reason - when I was eyeing the salmon at the store, the guy asked if I'd tried the farmed salmon.... I definitely had an averse reaction, which thankfully he understood when I explained and didn't seem insulted.

The second time I made it, I used fresh crab and fresh salmon from the fish market.  Way expensive but so much better.

Oh, yeah, if you can't tell, I started by melting some butter in a pan.
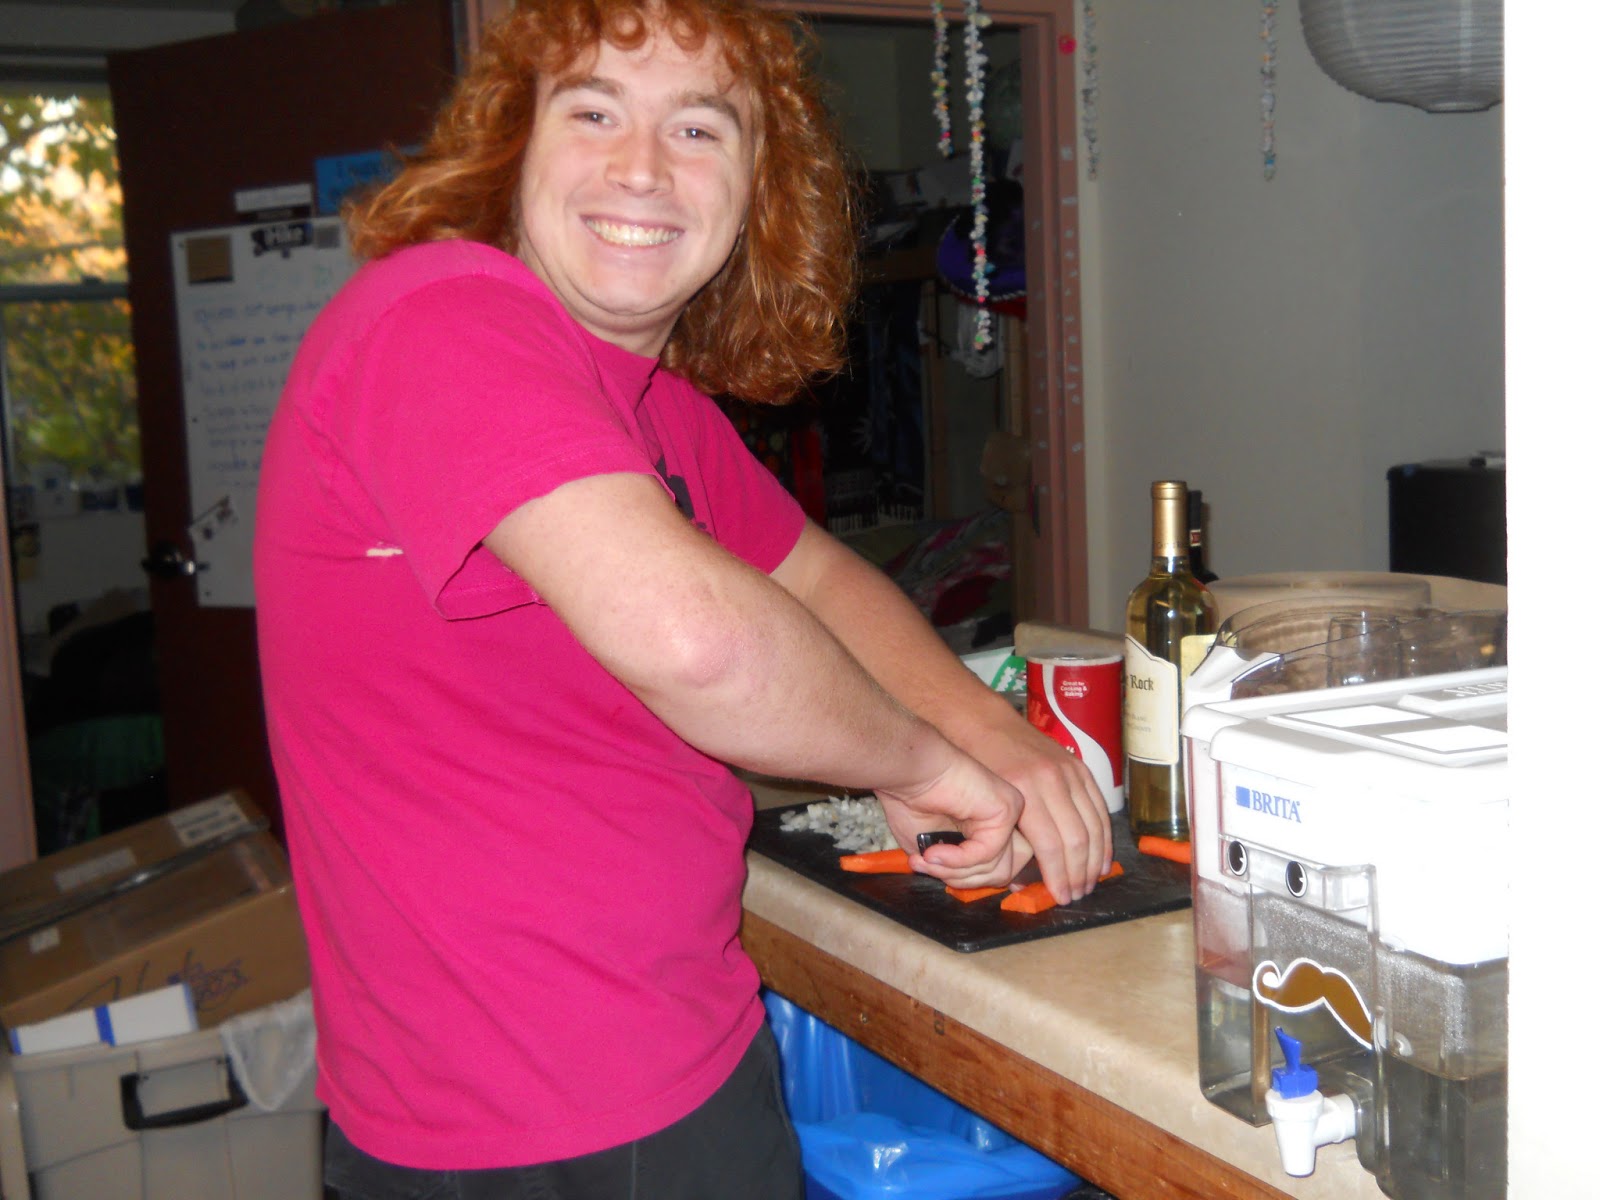
In the meantime, my cheerful assistant chopped up the carrots, celery, and onion.

Yeah, we were having fun cooking.  End of finals does that to you.
While he was doing that, I decided to open up the wine.  I bought a whole bottle and only needed half a cup of it for the dish, so we figured we'd drink a little while cooking.  To make it even more fun.  Or something.

Anyways, something was wrong with the cork, or the way we put the corkscrew into the cork, and we basically almost had corky wine.  Yum!
There were a lot of vegetables needing chopping.
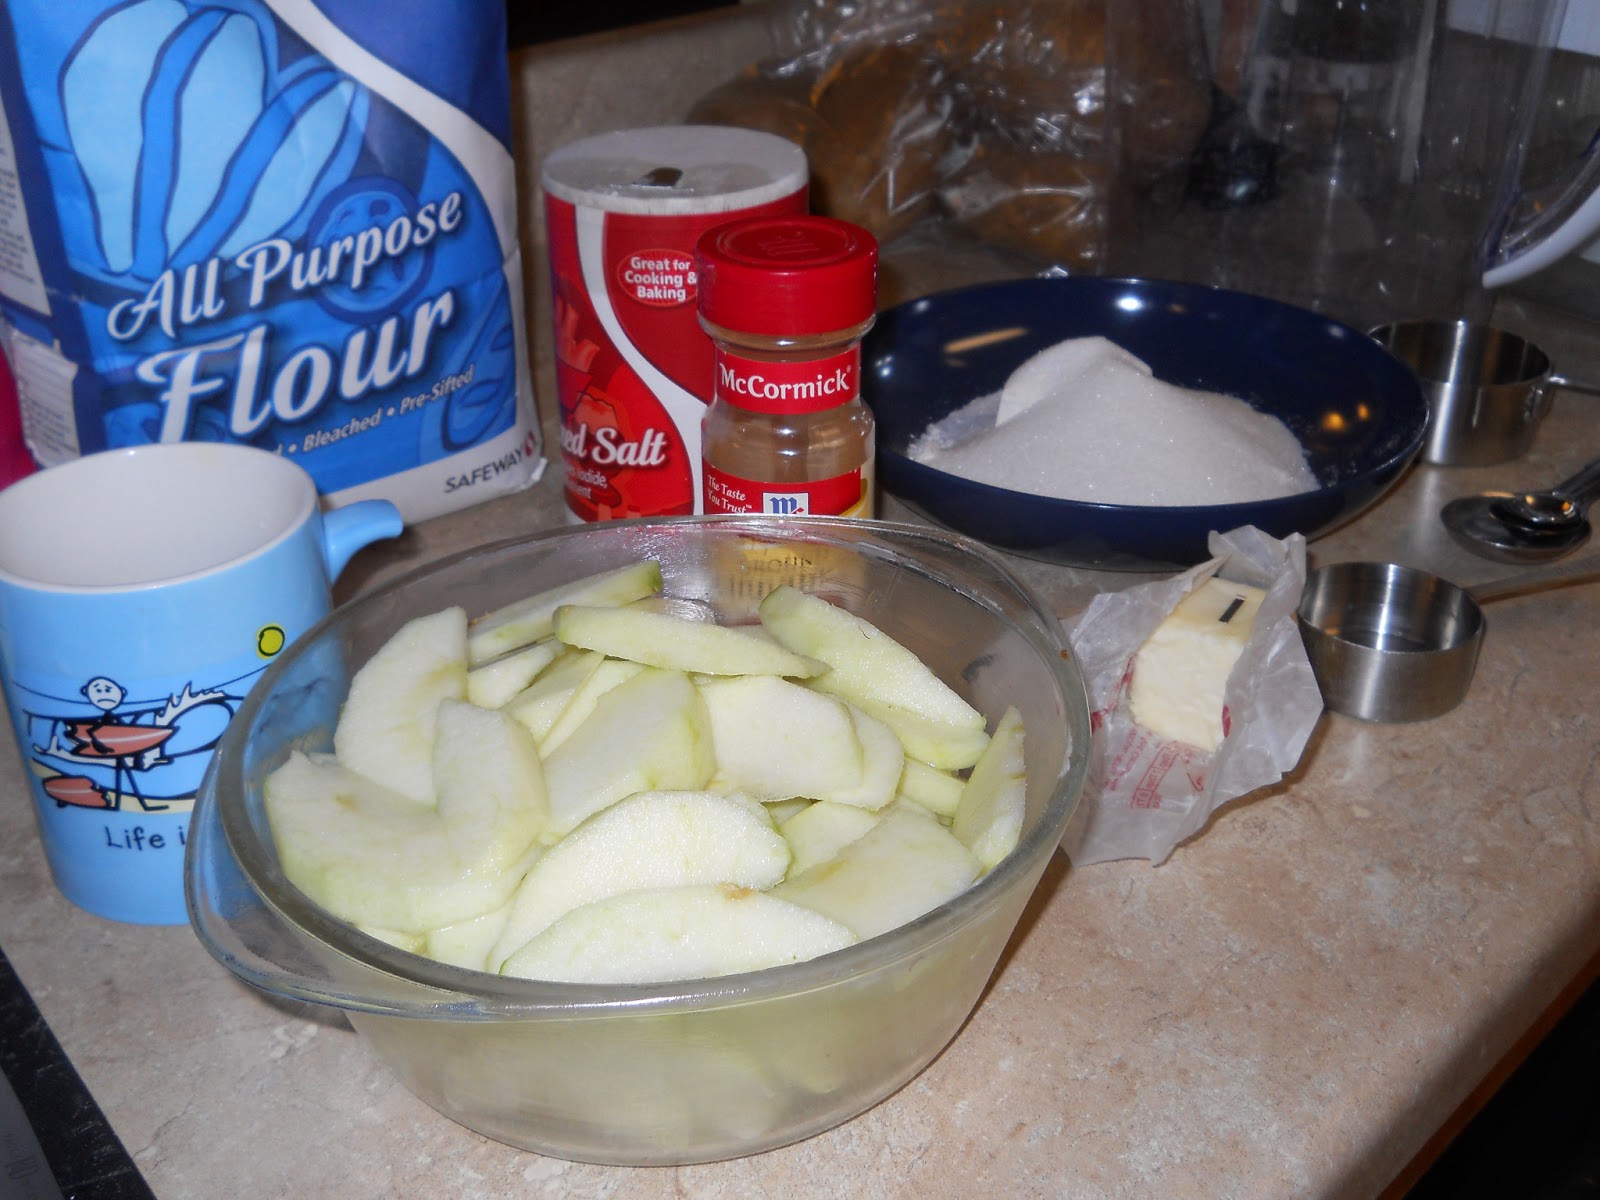
In the meantime, I heated up some butter and flour until golden brown.

That messy pan on the back burner?  That was from the applesauce that I made the same day.  Now y'all know how long its been.

For some reason I think the butter and flour heating went way better the second time around, but it's been too long to remember.  I was actually thinking today about how long this semester feels... only 3 weeks left, though!
Oh, right, cooking.  So that pan with the butter in it from a while ago?  That was for sauteing the celery, carrots and onion.  Just saute those for a while.  They'll be fine.

What won't be fine?  The butter and flour if you stop stirring it.  DON'T STOP STIRRING IT!  If that burns, you'll be sad.

So, while you're stirring the butter and flour, get your cheerful assistant to juice a lemon.

Okay, that's where I went wrong the second time.  My recipe said 1 tablespoon of lemon juice, but my lemon was small and not terribly juicy the first time around, so i just used the whole thing.

The second time, however, the lemon was big and juicy and produced like... 3 times as much juice.  So my final product was very lemony.
Here's a beautiful golden brown, and some gorgeous Christmas nails.

Somehow I didn't take a picture of the next several steps, but basically, after this, all of the ingredients get added - stock, sauteed vegetables, and tomato paste.

As for stock, any meat stock should probably work.  I had turkey stock on hand the first time from Thanksgiving, and for my second round, which was at home, I used chicken stock.
It was probably to my advantage that both broths were homemade - I've actually never used store bought broth in anything, mostly because my family always has some homemade chicken broth on hand.

My dad's obsession with using all the leftover chicken scraps for chicken broth leads to a lot of "there's a carcass in the freezer" jokes.

Once everything is added and mixed in, the pot can be covered and let to simmer for a while.

When it's done, it should be nice and steamy, and taking pictures of it will produce awesome effects.

Then add the rest of the ingredients and... bisque!

Oh, let it simmer for a bit longer, so the flavors of the seafood can permeate.
This looks slightly less appetizing than the last picture, but that's just because cream lightens it.

Give it a good stir before serving because the large chunky things settle.

Serve with crackers, tortilla chips, or just on its own with the rest of the wine.  We got lucky with the wine, because it happened to be one that went particularly well with seafood.

Preferably - serve it in a soup mug.  Soup mugs are awesome.

This one got rave reviews both times around.  The first time, the only improvement I wanted to make was better quality seafood.  It was good, but it was easy to tell the crab wasn't fresh or well processed.  The only complaint was the crab shell bits that kept showing up, but fresher crab would have been nice too.

The second time, everyone loved it, but, as I mentioned before, I included too much lemon.  My mom kept asking "how much lemon does it call for?" and I'd have to respond "I don't know, mom, I made up the recipe!"

Salmon and/or Crab Bisque

1 cup minced onion
1 cup minced carrot
1 cup chopped celery
4 tablespoons flour
6 tablespoons butter
3 cups turkey stock
2 tbsp tomato paste
1 3/4 cup heavy cream
1 tablespoon lemon juice
1/2 cup dry white wine
1 teaspoon Worcestershire sauce
1-2 lb crab and/or salmon meat
1/2 teaspoon salt
  1. Saute onion, celery and carrot in 2 tablespoons of butter until soft, set aside.
  2. Melt 4 tablespoons of butter, add 4 tablespoons of flour, stir, stir, stir until light brown.
  3. Add turkey stock and keep whisking
  4. Add onions, celery, carrots and tomato paste, simmer for 1/2 hour
  5. Add cream, lemon juice, wine, Worcestershire sauce, salt, salmon and crab, simmer for 5-10 minutes (until thick)
  6. Heat until warm enough to eat, serve with crackers or on its own!
Edit - thanks kDycu for catching a typo!

Thursday, April 18, 2013

Apple Crumble (aka Apple Heaven)

Have I mentioned yet that I like apples?  A third of my previous posts already involve apples.  If you don't like apples, don't worry.  The next 6 posts that need to get posted don't include apples at all!  One has pineapple, though, and another is related to bananas.

Anyways, apples.  They're good.  They're good raw, if they're good apples, and if they aren't good for being raw, they're delicious baked.

Fun fact: Apples originally weren't used for eating raw at all, just for making cider, and, I guess, baking?  I'm not 100% sure.

When I was driving down to campus before this semester started, I stayed the night with a friend whose mom made us this dish.  Finding myself with a plethora of apples on hand a few weeks later, I asked for the recipe.  It's become my go-to way to get rid of apples since.

Unfortunately, I think the apples on my counter might be too far gone for this application.  Maybe I'll try some apple bread.

Anyways - I peeled the apples.
 Then I sliced them.

It's way easier to peel apples before slicing them - I was doing this wrong at first.  If you peel a whole apple, you can peel in circles around the apple and get more in one fell swoop.  My mom can occasionally peel the whole apple without stopping / breaking the peel spiral.  I'm not quite there yet.  (We use a very sharp knife for peeling, by the way.)
Once the apples are sliced, you should pile them into a baking dish.  I like the one pictured here.  I have no idea where it came from.  Yay inherited kitchens!  But it's a darn good baking dish.  I think I'll miss it.

Oh, and you should have already buttered your baking dish, you don't want anything to stick.  Besides... butter.  Mmmm.

You also sprinkle the apples with a bit of water.  Once this is done, you can cover the apples with the topping.
 (I forgot to take a picture before putting it in the oven).

The topping is a mixture of flour, butter, cinnamon, brown sugar, and, based on what I can see in the picture above, some white sugar and salt.  Though that pile that I think is white sugar might just be flour.

Spread the topping over the apples, and pop it in the oven.

I'd recommend a preheated oven.
On a completely unrelated note... even as a seasoned baker, I much prefer recipes that remind me to preheat the oven at the beginning of the recipe.  Far too often, I get to where I'm just about to put everything in the oven, and then I realize the oven isn't on.

Usually those are the times when the oven has to be at 450 or something, and takes forever to preheat.

On that note, preheating when I start and having the oven preheated long before I finish mixing...
 Well, that feels wasteful too.

Okay, you may have guessed by now, I'm just rambling and letting you drool over delicious pictures of apple crisp.  Mostly, I want to have enough words to fill the blank spaces around the pictures, because words!

The crisp is delicious, though.  As I'm sure you can tell by this picture.
 Its best served with ice cream.  In this case, it was served with the ice cream that had been in our fridge since the start of the year.  The rest of that ice cream might still be in the fridge - we're not huge ice cream eaters around here.

The sugar and flour get all caramelized and the apple cooks and is cooked apple.  Yum.
I'm not sure how we didn't manage to finish it.

Oh right, because there were about 6 apples in this batch, and 4 of us.  And we'd just finished a large dinner.  (This was made after Not Pad Thai, which was surprisingly filling, for all it was gross).

I don't want to give this recipe out because it isn't public or mine to give, but it's a basic apple crisp without oats, so something like this will do.

Happy appling!

Sunday, April 14, 2013

Apple Buttermilk Pancakes

Making butter was fantastic, but it left us with a less fantastic byproduct - buttermilk.  On one hand, butter is awesome and can be eaten with just about anything.  (Except, maybe, watermelon and fruit loops, as per a freshman year conversation).

Buttermilk, on the other hand... isn't really used for much.  Except pancakes.

Our butter making had also produced a decent amount of buttermilk, and since I'm loathe to waste anything, that inevitably meant we needed to make pancakes.

I also frequently find myself with a plethora of apples (there's around 6 over-ripe apples in my kitchen right now, and several more reasonably ripe ones in my room), because I like to take them from the dining hall for baking (that's usually all dining hall apples are good for, when you're spoiled for Washington Fuji apples like I am).

Last year for Thanksgiving breakfast, someone I know made pancakes with apples in them, and I figured it couldn't be that hard - no harder than making pancakes and mixing in apples, right?

Right.

No, seriously, it's that easy.  As long as you don't consider making pancake batter, and peeling and chopping apples difficult.  Maybe I'll throw a tutorial on peeling apples up here at some point.

I started with one of the first buttermilk pancake recipes I could find - Mom's Buttermilk Pancakes from All Recipes.  I didn't actually have a full cup and an eighth of buttermilk, so I googled substitutions, and discovered that yogurt is actually a decent substitute for buttermilk.  So vanilla yogurt was used for about half the buttermilk.  I also added a dash of cinnamon and a dash of vanilla extract.

I also peeled and diced the apples.

Once the pancake batter was mixed and the apples were peeled and diced, I mixed them all together.

I probably had about 5 small apples in here, but I'm not entirely sure.  It was around the same volume of apples as batter, because I really love my apples.
Then the batter was poured on the griddle.

Sidenote: my kitchen has a strange selection of appliances and whatnot, and I'm very glad that this selection includes a griddle.  Not that I really use it very often, but its so nice to have!
When the pancakes are ready to be flipped, flip them.  You can usually tell because they don't stick to the pan anymore, and the edges on the uncooked side become less shiny.
Yum!  Pancakes were definitely a success!  The yogurt gave them a delicious amount of moisture, which was fantastic because my usual complaint about plain pancakes is that they are too dry.  These were fantastic, especially with butter and syrup.


Apple Buttermilk Pancakes (adapted from allrecipes.com)

1 cup flour
1 teaspoon salt
1 teaspoon baking soda
1 egg
1/2 cup fresh buttermilk (or however much you have)
1/2 cup + a little more vanilla yogurt (so buttermilk + yogurt is around 1 1/8 cup)
2 tablespoons melted butter
Several apples
A dash of cinnamon
A splash of vanilla extract

  1. Peel and dice the apples
  2. Preheat and lightly grease a large skillet or electric griddle.
  3. Mix the flour, salt, and baking soda together in a bowl. Add the egg, buttermilk, yogurt, and butter; stir together lightly, but keep it lumpy. The batter should look thick, spongy, and puffy.  Stir in diced apples, vanilla and cinnamon.
  4. Drop 1/3 cup of the batter onto the cooking surface, spreading lightly with the bottom of the cup. Cook until lightly-browned on each side, 1 to 2 minutes per side.
  5. Serve hot, topped with butter and syrup.

Butter!

At the very start of the semester, I found myself with a box of scone mix that needed making.  I'd brought it down from Washington as a treat for a couple of friends who happen to love fair scones.  The mix requires a small amount of heavy cream, and I ended up with most of a bottle left over.

After using the cream for a couple of weeks in my hot chocolate (to approximate having used milk in the first place), I realized we really needed to use it up fast.  So, remembering all the Bill Nye videos and whatever about making butter, I figured... hey!  Let's give it a try!

I found an old pasta sauce jar, dumped in the cream, and started shaking it.  For a long time.  (Maybe half an hour, trading off with a friend while we made dinner).

Seriously, if you haven't done this ever, you should try it.  It's a fascinating process.  For a while you just have cream, then whipped cream, then suddenly it becomes butter.


After that, you just have to strain out the buttermilk, and... viola!  Butter!

I probably put it on fresh bagels or something, because really - why not?


And everything that was left got stuffed into a butter dish, so we could store it.  I'd call that a success!